
Great real estate photography starts before the photographer arrives.
While getting a home ready for photos often brings cleaning and decluttering to mind, there are several other details that can make a major difference in how smoothly a photography appointment goes and how effectively the final images showcase the property.
From scheduling and weather to pets, vehicles, lighting, and communication, a little preparation can help your photographer capture the home at its absolute best.
If you’re preparing a home for real estate photography, use this Realtor’s checklist to make sure the property, sellers, and photography appointment are all ready to go.
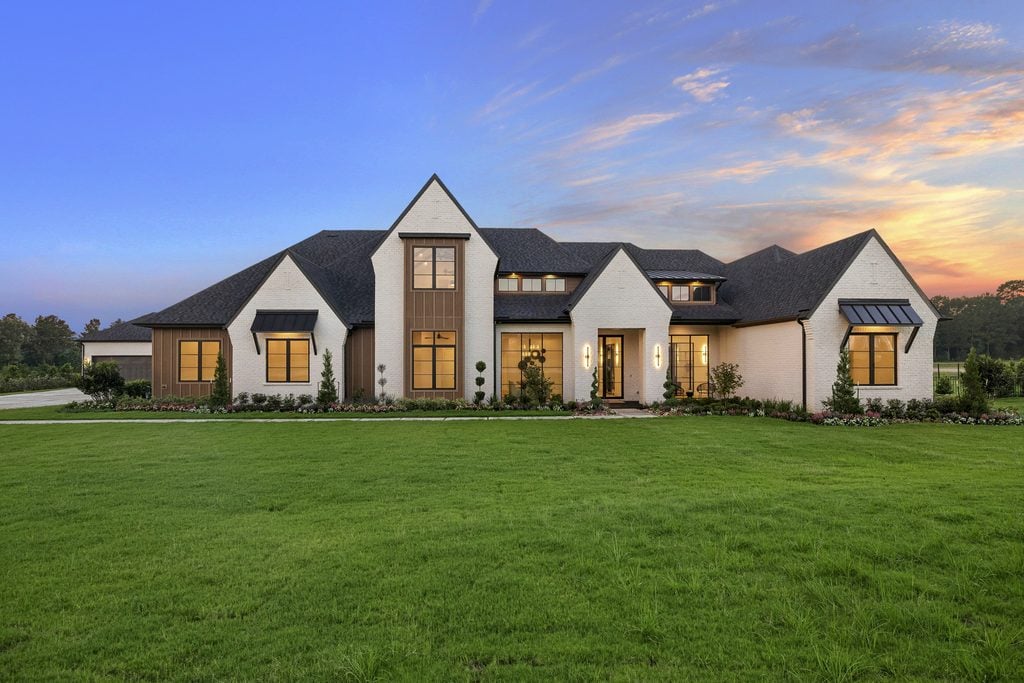
1. Schedule Photography With the Listing Timeline in Mind
Photography should be scheduled strategically, not simply whenever the home happens to be available.
Before booking the appointment, consider:
- When the home will officially go live on the MLS
- Whether the property will be completely photo ready
- Seller availability
- Natural lighting throughout the home
- Landscaping and exterior conditions
- Upcoming weather
- Any other media being scheduled, such as video, drone, or twilight photography
Whenever possible, give yourself enough time between the photography appointment and the MLS launch to receive, review, and upload the finished images.
Tip: Avoid scheduling photography before the home is truly ready. Rescheduling can create unnecessary delays for everyone involved.
2. Communicate Expectations With the Sellers
One of the most important parts of preparing a home for real estate photography happens before the photographer ever arrives. Make sure the sellers know what to expect.
Sellers should understand that the photographer will be capturing more than just individual rooms. The goal is to create a visual story of the entire property.
Communicate:
- The exact arrival time
- How long the appointment may take
- That the home should be photo ready before the photographer arrives
- Where sellers should be during the appointment
- What to do with pets
- What to do with vehicles
- Whether exterior areas need attention
- That last minute styling may not be possible if the photographer is working on a tight schedule
Clear expectations help prevent surprises and allow the photographer to focus on creating the best possible images.
3. Check the Weather Before the Appointment
Weather can have a major impact on exterior photography.
Before confirming the appointment, check the forecast and consider whether conditions could affect the way the property will be photographed.
Rain, heavy cloud cover, strong winds, storms, or muddy landscaping can all change the appearance of a home.
For exterior focused properties, waterfront homes, large lots, and homes with beautiful outdoor spaces, weather becomes especially important.
If severe weather is expected, communicate with your photographer early rather than waiting until the day of the appointment.
4. Don’t Forget the Landscaping
The exterior is often the first image a potential buyer sees.
Before photography, make sure the landscaping is looking its best. This doesn’t necessarily mean undertaking a major landscaping project. It simply means making sure the property looks cared for and ready to be presented.
Check:
- Lawns have been mowed
- Hedges and shrubs are trimmed
- Leaves and debris are removed
- Driveways and walkways are clear
- Pool areas are clean
- Outdoor furniture is arranged
- Trash cans are put away
- Hoses and gardening equipment are stored
- Seasonal decorations are intentional and tidy
If landscaping work is scheduled, ideally have it completed before the photography appointment.
5. Have a Plan for Pets
Pets are part of the family, but they can make a photography appointment more difficult if they’re moving throughout the home.
Before the photographer arrives, determine where pets will stay during the shoot.
This includes:
- Dogs
- Cats
- Birds
- Reptiles
- Other animals that may need to be moved or secured
Don’t forget about pet related items, either. Food bowls, litter boxes, crates, toys, beds, and leashes can easily become visible in photographs.
Having a plan ahead of time keeps the appointment moving and prevents pets from accidentally appearing in rooms being photographed.
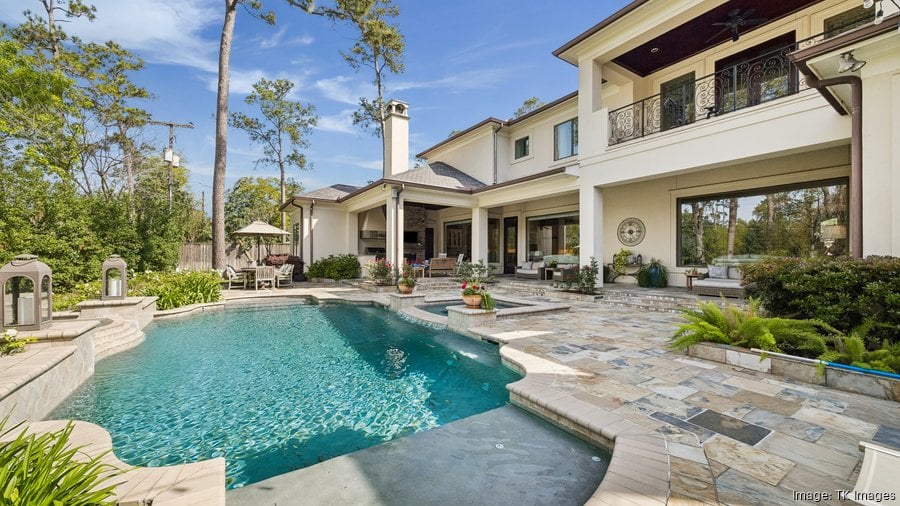
6. Coordinate Vehicles
Cars can have a surprisingly large impact on exterior images.
Ask sellers to move personal vehicles into the garage or another appropriate location before the photographer arrives.
Also consider:
- Boats
- Trailers
- Motorcycles
- RVs
- Work vehicles
- Children’s outdoor equipment
The goal isn’t to make the property look unrealistic. It’s to make sure the home itself remains the focal point of the photograph.
For properties with garages, consider whether the garage interior is part of the listing’s selling points. If it is, coordinate accordingly so the photographer can capture it cleanly.
7. Turn On the Lights
Lighting can completely change the atmosphere of a photograph.
Before the photographer begins, turn on the home’s interior lights and make sure bulbs are functioning properly.
Check:
- Ceiling lights
- Lamps
- Pendant lights
- Under cabinet lighting
- Bathroom lighting
- Exterior lights
- Decorative lighting
Consistent, functioning lighting helps create a warm and inviting presentation.
If a bulb is burned out or noticeably different in color from the others, replacing it before photography can make a small but meaningful difference.
8. Think About Timing and Natural Light
The time of day matters.
Every property has different lighting conditions depending on its orientation, window placement, landscaping, and surrounding buildings.
A photographer may recommend a particular time based on the home and the type of photography being requested.
For example, a home with beautiful natural light may photograph best at a different time than a property with significant afternoon sun exposure.
When scheduling, consider:
Interior photography: When the rooms receive the most flattering natural light.
Exterior photography: When the front of the property has the best light.
Twilight photography: A separate appointment or carefully planned portion of the shoot designed to capture the home during the transition from daylight to evening.
Timing isn’t just about convenience. It’s part of the visual strategy for the listing.
9. Communicate Special Features Before the Shoot
Your photographer may know how to find the best angles, but you know the property.
If there’s a feature that deserves attention, communicate it.
Examples include:
- A hidden outdoor living area
- Custom millwork
- A stunning view
- A remodeled space
- A unique architectural detail
- A detached guest house
- A pool or spa
- A large garage or workshop
- A home office
- A media room
- A beautiful primary suite
Don’t assume the photographer will automatically know which details are most important to the seller or Realtor.
A quick conversation before the appointment can help ensure the photography tells the complete story of the property.
10. Give the Photographer the Information They Need
Good communication makes the entire process more efficient.
Before the appointment, provide any relevant information such as:
- Property address
- Gate or access instructions
- Alarm information, when appropriate
- Garage or gate codes
- Areas that should or should not be photographed
- Special features to highlight
- Any areas with access limitations
- Contact information for the person meeting the photographer
If multiple forms of media are being scheduled, such as photography, video, drone, or virtual staging, make sure everyone involved has the correct schedule.
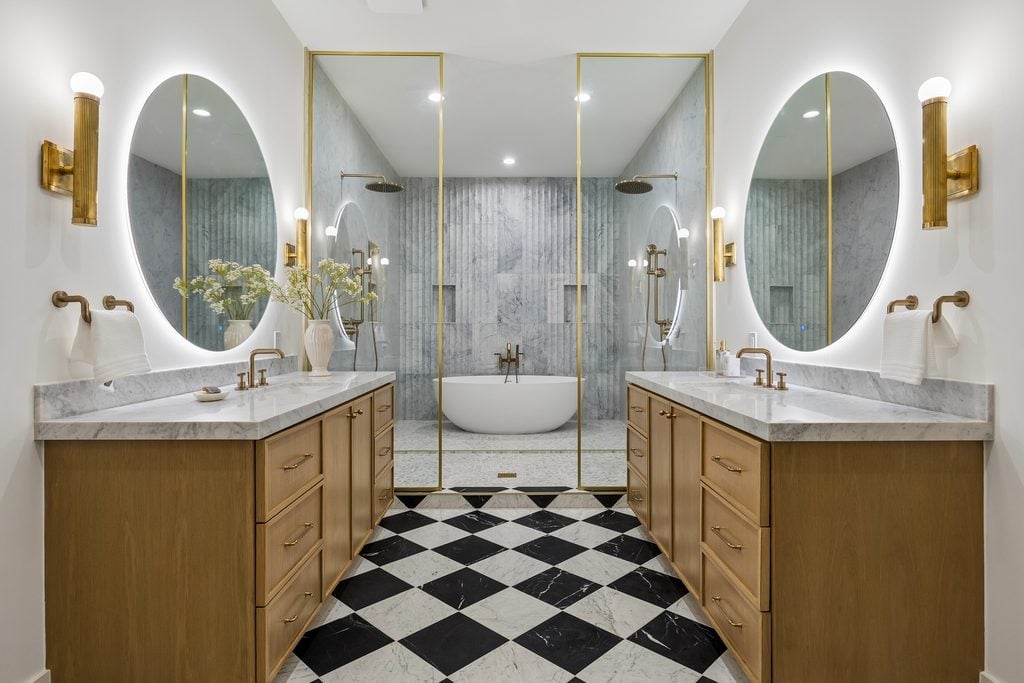
11. Do a Final Walk Through Before the Photographer Arrives
Even after you’ve communicated everything to the sellers, a quick final walk through can catch details that are easy to overlook.
Before the photographer arrives, check:
- Lights are on
- Blinds and curtains are positioned intentionally
- Pets are secured
- Vehicles are moved
- Trash cans are out of sight
- Landscaping is ready
- Exterior areas are clean
- Access points are unlocked
- Special features are accessible
This final check can save time once the photographer is on site.
The Realtor’s Pre Photography Checklist
Before the photographer arrives, ask yourself:
Scheduling
☐ Is the home completely ready for photography?
☐ Does the appointment align with the MLS launch timeline?
☐ Is the timing appropriate for the home’s natural light?
Sellers
☐ Do the sellers know when the photographer is arriving?
☐ Do they understand what needs to be ready beforehand?
☐ Do they know where to be during the appointment?
Exterior
☐ Has the landscaping been maintained?
☐ Are walkways and driveways clear?
☐ Are outdoor spaces ready to photograph?
Pets
☐ Are pets secured?
☐ Are pet supplies put away?
Vehicles
☐ Are personal vehicles moved?
☐ Are trailers, boats, or other large items positioned appropriately?
Lighting
☐ Are interior and exterior lights working?
☐ Are all desired lights turned on?
Communication
☐ Has the photographer received access instructions?
☐ Have important property features been communicated?
☐ Are there any areas the photographer should know about?
Weather
☐ Has the forecast been checked?
☐ Does the weather support the planned photography?
Great Photography Starts Before the Camera Comes Out
Professional real estate photography isn’t simply about taking pictures of a house. It’s about creating a visual presentation that helps potential buyers understand the property, imagine themselves there, and keep scrolling through the listing.
The Realtor, seller, and photographer all play a role in making that happen.
By taking a few extra minutes to plan the scheduling, timing, weather, landscaping, pets, vehicles, lighting, and communication, you can help create a smoother photography experience and a stronger final listing presentation.
When the home is ready, the photographer can focus on what they do best: capturing the property in a way that makes buyers want to see more.
Ready to Showcase Your Next Listing?
Whether you’re preparing a home for real estate photography in Houston, Austin, San Antonio, or the surrounding areas, TK Images is here to help you create professional imagery that puts your listings in their best light.
Ready to elevate your next listing? Contact TK Images to schedule professional real estate photography.